VOOZH about

URL: https://www.geeksforgeeks.org/react-native/dumb-components-in-react-native/

⇱ Dumb Components in React Native - GeeksforGeeks


  • Courses
  • Tutorials
  • Interview Prep

Dumb Components in React Native

Last Updated : 14 Feb, 2026

Dumb components, also known as presentational components, are React Native components that focus only on displaying UI. They do not manage state or handle business logic and receive data through props.

  • Used only for UI rendering and presentation.
  • Receive data and callbacks through props from parent components.
  • Do not contain state management or complex logic.
  • Greeting is a dumb component.
  • It only displays data using props.
  • It does not use state or logic.

Syntax:

const Function = (props) => {
return(
// ...code of creating any element
)
}

Characteristics of Dumb Components:

  • Focus on the UI: Dumb components mainly focus on how things look. So almost all UI components like buttons, inputs, modals, etc should be considered dumb components.
  • Accepting props: Dumb components accept props to receive data and the callback function from the parent component. This makes them dynamic and reusable.
  • The state is rarely included: Dumb component does not include state, the only time it includes state is to manipulate the UI itself not the data.
  • No dependencies: Dumb components do not require any dependencies on the rest of the app.
  • Easy Testing:  It is easy to test dumb components as it only takes props and returns the UI. It does not have any complex logic or state for data.

Step-by-Step Implementation

Step 1: Create a React Native Project

Now, create a project with the following command.

npx create-expo-app app-name --template

Note: Replace the app-name with your app name for example : react-native-demo-app.

Next, you might be asked to choose a template. Select one based on your preference as shown in the image below. I am selecting the blank template because it will generate a minimal app, as clean as an empty canvas in JavaScript.

👁 Image

It completes the project creation and displays a message: "Your Project is ready!" as shown in the image below.

👁 Image

Now go into your project folder, i.e., react-native-demo

cd app-name

Project Structure

👁 Image

Step 2: Run  Application

Start the server by using the following command.

npx expo start

1. Then, the application will display a QR code.

For the Android users,

  • For the Android Emulator, press "a" as mentioned in the image below.
  • For Physical Device, Download the "Expo Go" app from the Play Store. Open the app, and you will see a button labeled "Scan QR Code." Click that button and scan the QR code; it will automatically build the Android app on your device.

2. For iOS users, simply scan the QR code using the Camera app.

3. If you're using a web browser, it will provide a local host link that you can use as mentioned in the image below.

👁 Image

Step 3: Start Coding

- : Import required libraries at the top of the file.

- : Create a "Dumb Component", which have a Text component wrapped with a Container.

- : Create a Style sheet for the container and text in the dumb component.

- : Call the created dumb components in the main App Component and export the App.

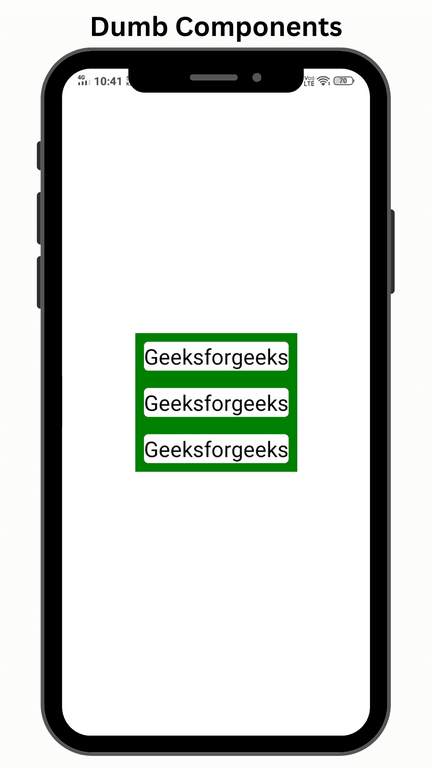
We have created the dumb component named GFG and used it three times in the APP function. 

Output:

👁 Dumb_Components


Comment

Explore