 |
VOOZH | about |
|
VOOZH | about |
Image uploading and previewing are widespread in mobile apps. With the Expo ImagePicker package, React Native makes this work easier. Uploading and previewing photographs is a common feature in Android and iOS applications, especially in the user profile section. This feature allows users to submit an image and view a preview of it. In this article, we are going to see how we can addimage upload functionality and preview it on the screen.
To begin, you will be required to configure your development setup. This entails the installation of Node.js, which serves as the runtime environment for executing JavaScript code beyond the confines of a web browser.
Uploading images in React Native requires integrating with external APIs, while previewing them involves rendering the image using the Image component.
Step 1: Set Up the Development Environment. Install Expo CLI globally by running this command:
npm install -g expo-cliStep 2: Create React Native Application With Expo CLI
expo init image-uploadStep 3:Navigate to the project directory by using this command:
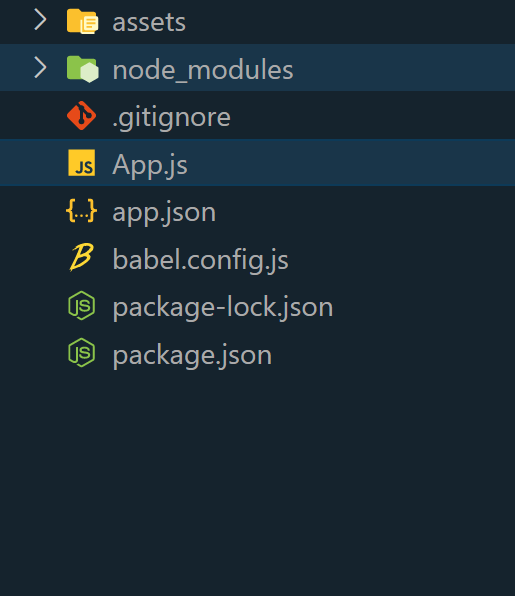
cd image-upload Project Structure
👁 React-Native-Project-Structure
Step 4: Install the required dependencies by running:
npm install expo-image-pickerExample: In this example, we will show how to upload an Image and Preview it using React Native.
Step 5: To run React Native use the following command in the Terminal/CMD:
npx expo startTo run on Android:
npx react-native run-androidTo run on ios:
npx react-native run-iosOutput: