 |
VOOZH | about |
|
VOOZH | about |
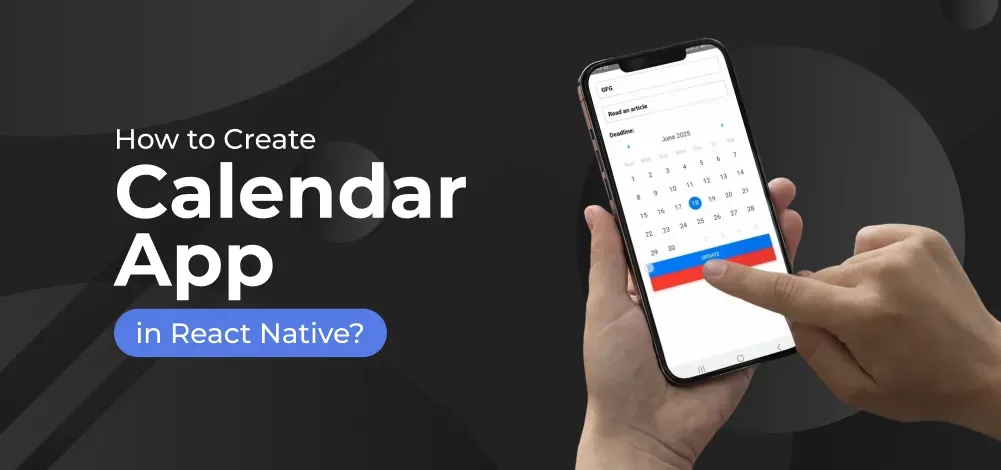
In this article, we will see how to add a Calendar to a React Native App. Discover how to enhance your React Native application by integrating a calendar using the powerful react-native-calendars library. With React Native's ability to facilitate cross-platform mobile app development using JavaScript.
This article describes the process of seamlessly adding a calendar to your app.
To give you a better idea of what we’re going to create, let’s watch a demo video.
Now, create a project with the following command.
npx create-expo-app app-name --template
Note: Replace the app-name with your app name for example : react-native-demo-app
Next, you might be asked to choose a template. Select one based on your preference as shown in the image below. I am selecting the blank template because it will generate a minimal app that is as clean as an empty canvas in JavaScript.
It completes the project creation and displays a message: "Your Project is ready!" as shown in the image below.
Now go into your project folder, i.e., react-native-demo
cd app-nameStart the server by using the following command.
npx expo startThen, the application will display a QR code.
npm install react-native-calendarsApproach: We will use the react-native-calendars library, a popular choice for adding a customizable calendar component with features like day selection, date marking, and event display in React Native apps.
Example: In this example, add a calendar component using the `react-native-calendars` library, allowing users to view and select dates with custom styling.
- : Import required libraries at the top of the file.
- : This component is used to show a calendar to users.
- : Make a custom functional component and wrap the above calendar component, and return it from MyCalendar.
Now, wrap the Mycalendar component with a View component and return from the App component. Also, ensure to export the App.
App.js: