 |
VOOZH | about |
|
VOOZH | about |
Passing parameters between screens in React Navigation allows data to be shared from one screen to another. It helps in displaying dynamic content based on user actions.
Now, create a project with the following command.
npx create-expo-app app-name --templateNote: Replace the app-name with your app name for example : react-native-demo-app
Next, you might be asked to choose a template. Select one based on your preference as shown in the image below. I am selecting the blank template because it will generate a minimal app, as clean as an empty canvas in JavaScript.
It completes the project creation and displays a message: "Your Project is ready!" as shown in the image below.
Now go into your project folder, i.e., react-native-demo
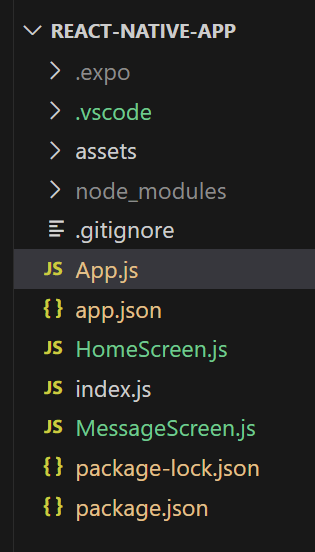
cd app-nameHere, we will create 2 screens called HomeScreen and MessageScreen. We will also create a stack navigator and pass values from HomeScreen to MessageScreen. So, create 2 files called HomeScreen.js and MessageScreen.js.
Now, to implement any type of navigation, we first need to install the React Navigation package in our React Native Project. Run the command below.
npm install @react-navigation/native Start the server by using the following command.
npx expo startThen, the application will display a QR code.
1. For the Android users,
2. For iOS users, simply scan the QR code using the Camera app.
3. If you're using a web browser, it will provide a local host link that you can use as mentioned in the image below.
Passing values between screens is common in multi-page apps. React Native allows this through navigation props or context providers.
-:
In this file, we will create a TextInput and a Button component. Users can add messages in this TextInput and press the button. The user will be redirected to MessageScreen. We will pass whatever value the user has entered from HomeScreen to MessageScreen, and that message will be displayed on the MessageScreen.
- :
In this file, we will receive the value from HomeScreen through route. Later on, we will display that value in a Text component on the screen.
- :
App.js is the main file that renders first when you run your app. In this file, we will create a stack navigator. NavigationContainer will contain HomeScreen and MessageScreen so that we can navigate between them.
Output: