 |
VOOZH | about |
|
VOOZH | about |
A Floating Action Button (FAB) in React Native is a button that appears above other content and remains fixed on the screen. It is commonly used for primary actions like add, edit, or create.
We will create a custom component called FAB which we can reuse everywhere we want to display FAB on the screen. This custom component FAB will take some props so that we can customize it any way we want.
Now, create a project with the following command.
npx create-expo-app app-name --templateNote: Replace the app-name with your app name for example : react-native-demo-app
Next, you might be asked to choose a template. Select one based on your preference as shown in the image below. I am selecting the blank template because it will generate a minimal app, as clean as an empty canvas in JavaScript.
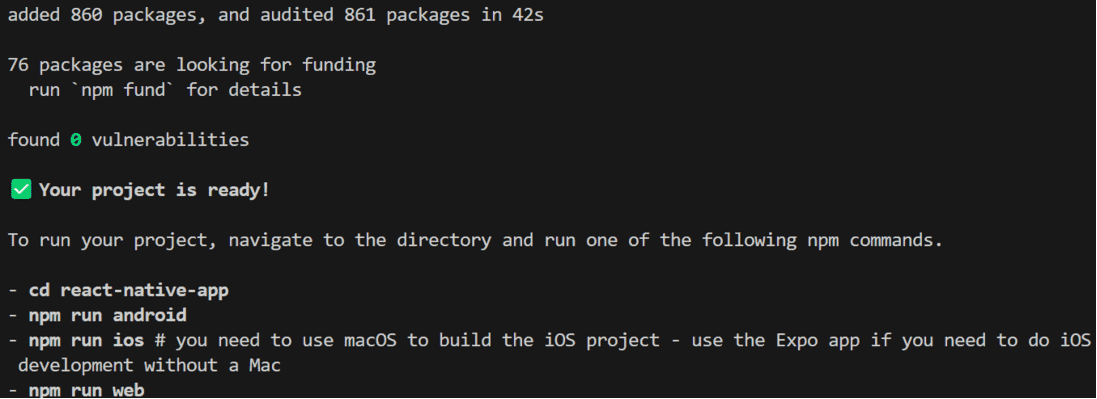
It completes the project creation and displays a message: "Your Project is ready!" as shown in the image below.
Now go into your project folder, i.e., react-native-demo
cd app-nameStart the server by using the following command.
npx expo startThen, the application will display a QR code.
1. For the Android users,
2. For iOS users, simply scan the QR code using the Camera app.
3. If you're using a web browser, it will provide a local host link that you can use as mentioned in the image below.
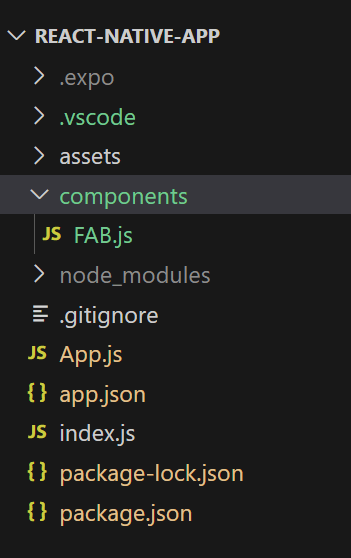
You can create a new folder called "components" to organize all component files better, as mentioned in the image below. Alternatively, you can write the component code directly in App.js.
- Import libraries: Import required libraries at the top of the file.
- StyleSheet: Create a StyleSheet to style components like the container and title.
- FAB Component: Create a FAB Component with a Text Component wrapped with Pressable Component, also make sure to export it.
FAB.js:
This file contains the code for the custom FAB component. It will take 2 props, text for the FAB button, and a function that will be called when the user presses the button. This component will have a background color and a text at the center. You can also add icons according to your requirement. The function which is received as a prop will be assigned to the onPress event of the Pressable component.
Now call this FAB Component in the main "App" Component in App.js.
App.js:
You can write the whole code in one file, i.e, App.js.
App.js:
Output :
This is how you can create a custom FAB button on your own in React Native, it will provide you much more flexibility than a third-party pre-build component.