 |
VOOZH | about |
|
VOOZH | about |
In this article, we’re going to create a progress bar using material design. We’ll be using the react-native-paper library to display this progress bar. The progress bar will act as a status indicator, showing how much progress has been made. In our project, we will place the progress bar at the top of the screen. Below the progress bar, there will be input fields where users can enter their data. The progress bar will update automatically as the user fills in the information.
To give you a better idea of what we’re going to create, let’s watch a short video.
Now, create a project with the following command.
npx create-expo-app app-name --template
Note: Replace the app-name with your app name for example : react-native-demo-app
Next, you might be asked to choose a template. Select one based on your preference as shown in the image below. I am selecting the blank template because it will generate a minimal app, as clean as an empty canvas in JavaScript.
It completes the project creation and displays a message: "Your Project is ready!" as shown in the image below.
Now go into your project folder, i.e., react-native-demo
cd app-nameStart the server by using the following command.
npx expo startThen, the application will display a QR code.
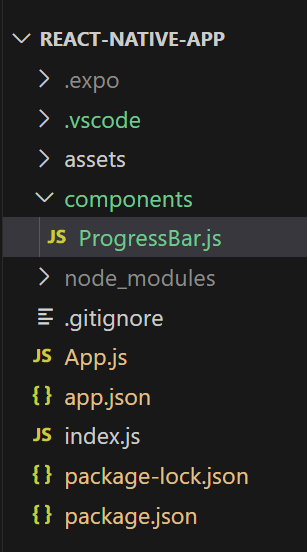
You can create a new folder called "components" to organize all component files better, as mentioned in the image below. Alternatively, you can write the component code directly in App.js.
In ProgressBar.js, we have imported ProgressBar, TextInput, and Colors from react-native-paper library. We will use useState and use effect hooks to update the status of the components. ProgressBar component uses a prop progress. The progress prop can take any value in the range 0 to 1.
- : Import required libraries at the top of the file.
- : Create a StyleSheet to style components like container, text, and textInput.
- : This Component is used to display a progress bar with dynamic color and status.
- : This Component is used to take input from the user.
- : This Component is used to display the text data on the screen.
- : It is used to update the state and set the default state.
- : This is used to perform side effects in function components.
Now, wrap the two ProgressBar, Text, and TextInput components with a View component and return from the ProgressBarExample component. Also, ensure to export the ProgressBarExample.
ProgressBar.js:
Now call this ProgressBarExample Component in the main "App" Component in App.js.
App.js:
You can write the whole code in one file, i.e, App.js.
App.js: