 |
VOOZH | about |
|
VOOZH | about |
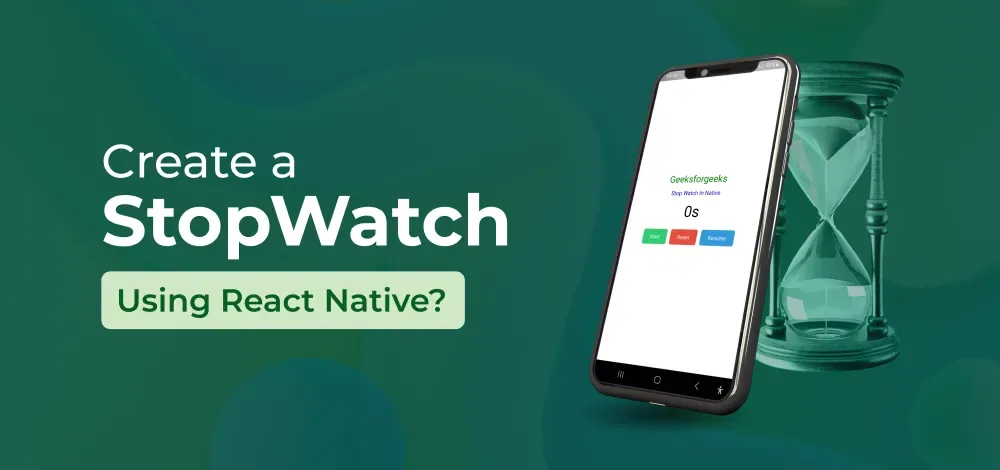
Stopwatches serve as vital tools for accurately measuring time intervals. By the capabilities of React Native, we can effortlessly develop a versatile stopwatch application compatible with both iOS and Android devices. In this article, we will guide you through the step-by-step process of creating a straightforward stopwatch app using React Native.
To give you a better idea of what we’re going to create, let’s watch a demo video.
Now, create a project with the following command.
npx create-expo-app app-name --template
Note: Replace the app-name with your app name for example : react-native-demo-app
Next, you might be asked to choose a template. Select one based on your preference as shown in the image below. I am selecting the blank template because it will generate a minimal app that is as clean as an empty canvas in JavaScript.
It completes the project creation and displays a message: "Your Project is ready!" as shown in the image below.
Now go into your project folder, i.e., react-native-demo
cd app-nameStart the server by using the following command.
npx expo startThen, the application will display a QR code.
In this approach, we create a stopwatch with start, pause, resume, and reset buttons. It utilizes state and refs to manage time and running status, updating time every second through intervals.
Example: The useState hook is utilized for managing the state of both the time (representing current elapsed time) and running variables in the stopwatch. On the other hand, the useRef hook is employed to store references to both the interval and start time, ensuring precise calculations of time. The functions startStopwatch, pauseStopwatch, resetStopwatch, and resumeStopwatch are responsible for handling the behavior of the stopwatch. They effectively manage interval timers, update the elapsed time, and control their running state based on user actions. The UI components in the JSX are rendered by the return statement. It showcases various elements like the header, subheader, current elapsed time, and buttons that change based on the stopwatch's state. To ensure consistent and organized styling, the StyleSheet.create function is used to define styles.
Let's Start!.
- : Import required libraries at the top of the file.
- : Create a StyleSheet to style components like container, header, subHeader, etc.
- : Here is the code to display the title and subtitle of the app using a Text component, which conveys who is providing the app (for ex: "Geeksforgeeks") and its purpose (for ex: "Stop Watch In Native").
- : Display time by calling the "time" state variable in Text component and the time will update by calling the setTime useState function.
- : We have four buttons: Start, Reset, Resume, and Pause. Each button does exactly what its name suggests. They are designed using a Text component wrapped in a TouchableOpacity component to make them work as buttons. All the buttons are grouped in a View component.
The Pause button only shows up when the timer is running, which is indicated by a "running" state variable. When "running" is true, only the Pause button is visible. When "running" is false, the Start, Reset, and Resume buttons are shown. Each button triggers a specific method: startStopwatch, resetStopwatch, resumeStopwatch, and pauseStopwatch.
- : Here we have 4 methods: startStopwatch, resetStopwatch, resumeStopwatch, and pauseStopwatch, providing functionality as their name suggests with the help of intervalRef and startTimeRef useState.
Now, wrap all design code with a View component, return it from the App component, and place all methods and useStates within the App component. Ensure to export the App.
App.js: