 |
VOOZH | about |
|
VOOZH | about |
React Native is a popular open-source framework developed by Facebook for building native mobile applications using JavaScript and React. It allows developers to create apps for both Android and iOS using a single codebase.
React Native apps are built using reusable components, created with either class or function syntax, where Hooks enable function components to manage state and behavior while rendering native UI on Android and iOS.
The world of JavaScript is always moving, and one of the latest ECMAScript versions now provides a more advanced module importing pattern. In the previous version, the developer had to use the following command.
module. exports = { // Define your exports here. };
const module = require('./file');
With modern ECMAScript, a module can export a default value, multiple named exports, or both, and these can be imported individually or in combination as needed.
In React Native, each component acts as a module, allowing built-in or custom components to be imported using the import and from keywords in different ways within an application.
Each module in reacts native needs at least one default export. In order to import the default export from a file, we can use the location of the file and use the keyword import before it, or we could give a specific name i.e. COMP_NAME to the import which makes the syntax as the following.
import COMP_NAME from LOCATIONEvery module can have no named parameters, and in case we need to import one we should use the syntax as follows.
import { COMP_NAME } from LOCATIONSimilarly, for multiple imports, we can use a comma ( , ) separator to separate two-parameter names within the curly braces. As shown below.
import { COMP_NAME1, COMP_NAME2, ... , COMP_NAMEn } from LOCATIONThe title makes it clear that what we need to see is the syntax of the same. In order to import a combination, we should use the following syntax.
import GIVEN_NAME, { PARA_NAME, ... } from ADDRESSNow let's start with the implementation.
First of all, we need to create a react native application in our system. for the creation of react native application we need to follow the below steps.
Prerequisite: We need to install Node.js on our system to run Node Package Manager (npm) commands.
Now, create a project with the following command.
npx create-expo-app app-name --template blankNote: Replace the app-name with your app name for example : react-native-demo-app.
Next, you might be asked to choose a template. Select one based on your preference as shown in the image below. I am selecting the blank template because it will generate a minimal app, as clean as an empty canvas in JavaScript.
It completes the project creation and displays a message: "Your Project is ready!" as shown in the image below.
Now go into your project folder, i.e., react-native-demo
cd app-nameAbove commands will create a react-native-app named react native application folder on your system specified location. As shown below.
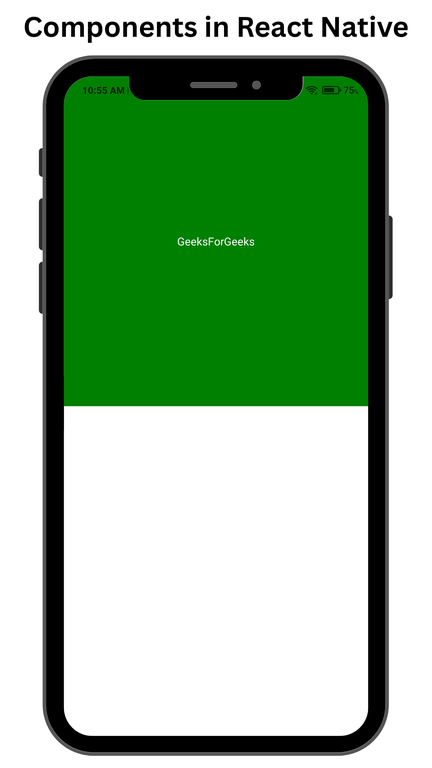
Example 1: We are importing two basics built in components Text and View of React Native from the react-native library.
Start the server by using the following command.
npx expo startThen, the application will display a QR code.
1. For the Android users,
2. For iOS users, simply scan the QR code using the Camera app.
3. If you're using a web browser, it will provide a local host link that you can use as mentioned in the image below.
Output:
Example 2: We will create a responsive Button which displays Alert Component, using the react-native Button component.
Output: