 |
VOOZH | about |
|
VOOZH | about |
Styling in React Native is used to design and customize the appearance of components like layout, colors, size, and position. It is similar to CSS but uses JavaScript objects instead of CSS files.
To style an element with the style props, the value must be a JavaScript Object. You just have to add a style prop to your element.
<View style={{}}> </View>StyleSheets separates the style code from the main elements. It makes the code easier to understand and increases its usability. In large code bases adding inline styles for each element can become messed up that's why stylesheets are used.
To use the stylesheet in your code, first import the stylesheet:
import { StyleSheet} from 'react-native';const styles = StyleSheet.create({ style1Name: { }, style2Name: { }, style3Name: { }});Now, create a project with the following command.
npx create-expo-app app-name --template
Note: Replace the app-name with your app name for example : react-native-demo-app
Next, you might be asked to choose a template. Select one based on your preference as shown in the image below. I am selecting the blank template because it will generate a minimal app, as clean as an empty canvas in JavaScript.
It completes the project creation and displays a message: "Your Project is ready!" as shown in the image below.
Now go into your project folder, i.e., react-native-demo
cd app-nameStart the server by using the following command.
npx expo startThen, the application will display a QR code.
1. For the Android users,
2. For iOS users, simply scan the QR code using the Camera app.
3. If you're using a web browser, it will provide a local host link that you can use as mentioned in the image below.
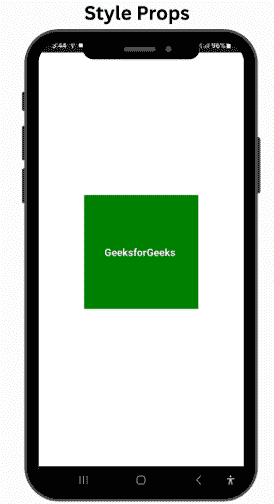
Example 1: This will demonstrate the style of props. Write the below code in the App.js file.
App.js:
Output:
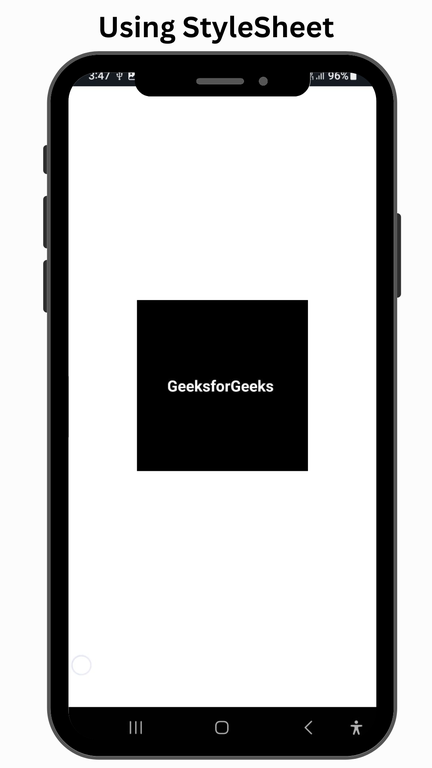
Example 2: Let's convert the Example 1 code into styleSheet to demonstrate the use of Stylesheet. Write the below code in the App.js file.
App.js:
Output: