 |
VOOZH | about |
|
VOOZH | about |
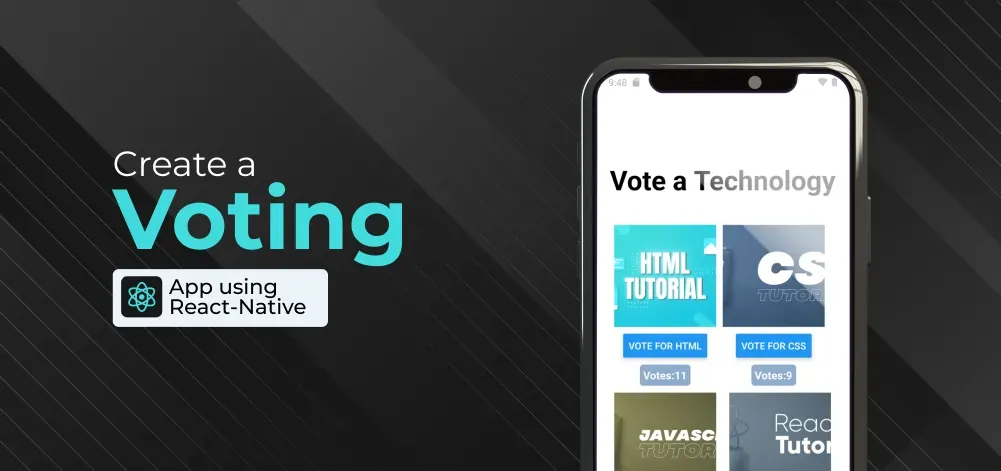
Voting involves assessing multiple entities based on specific criteria. This article guides the creation of a basic voting app, where users can compare and evaluate options. The application allows users to make choices, making it a valuable tool for decision-making and gathering opinions. We will create a Voting app using React-Native.
To give you a better idea of what we’re going to create, let’s watch a demo video.
Note: This Section is to interact with the app which you are going to build.
Now, create a project with the following command.
npx create-expo-app app-name --template
Note: Replace the app-name with your app name for example : react-native-demo-app
Next, you might be asked to choose a template. Select one based on your preference as shown in the image below. I am selecting the blank template because it will generate a minimal app that is as clean as an empty canvas in JavaScript.
It completes the project creation and displays a message: "Your Project is ready!" as shown in the image below.
Now go into your project folder, i.e., react-native-demo
cd app-nameStart the server by using the following command.
npx expo startThen, the application will display a QR code.
We are making an app that shows image of different technology, and users can vote on them. We use the useState hook to keep track of the vote count. When users click the vote button, the castVote function updates the votes for each image. The app has a ScrollView to let users scroll through the images, and we use StyleSheet to make it look nice. Each image is placed in its box along with the vote count.
Let's dive into the code in detail.
Import required libraries at the top of the file.
Create a StyleSheet to style components like container, title, imageBtnContainer, etc.
This title explains what the app does. We use the text "Vote a Technology" to show that the app is to Vote a Technology.
Define Image URLs globally.
This component is used to display Images.
This button is for calling the castVote function with the name of the image as a parameter. It will increase the score for that specific image. The button is created by wrapping the Text component inside the Button component, as shown below.
This function accepts an image name as a parameter. It looks for that image in a list of votes and increases its score by 1. The score for all images starts at zero by default, and this is done using the setVotes function from useState.
To show the score of an image, you can use the list called votes. For example, writing votes.image1 will give you the score (number of votes) for that image. This is done by wrapping the Text component in a View component to make it look like a container.
As we discussed earlier every technology have an image, button, and score container , so wrap all with ScrollView to make all the UI element scrollable.
Now, return ScrollView from the App component, and place all methods and useStates within the App component. Ensure to export the App.
App.js: