Extended Floating Action Button in Android with Example
Last Updated : 15 Jul, 2025
In the Floating Action Button (FAB) article, we have discussed on Normal/Regular FloatingAction Button and Mini Floating Action Button. In this article, let's discuss and implement an Extended Floating Action Button in Android which extends when clicked and shrinks when closed and also shows the information about the sub-floating action button for what the context the sub-floating action buttons have popped up. A sample GIF is given below to get an idea about what we are going to do in this article. Note that we are going to implement this project using the Java language.
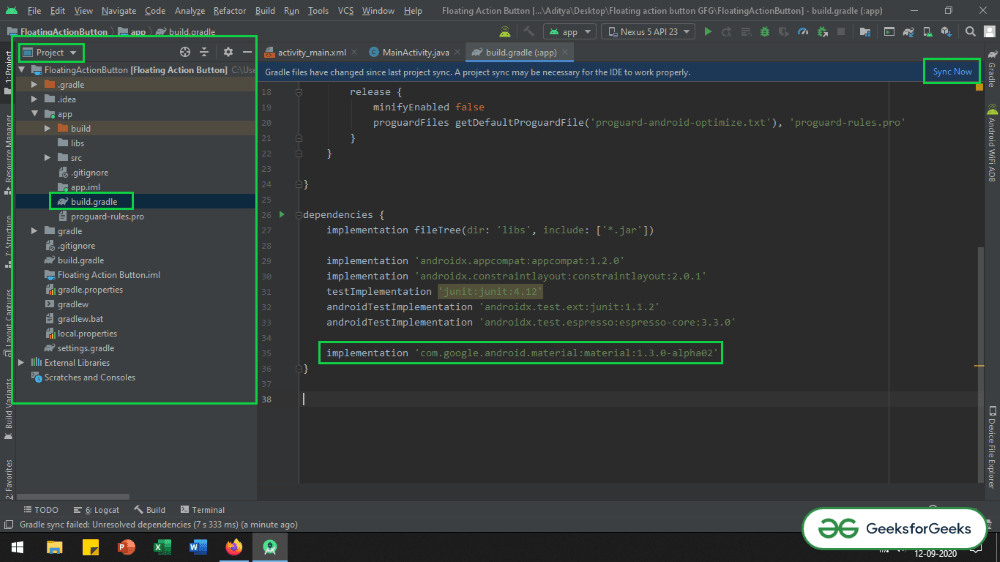
Make sure that add the dependency to the app-level Gradle file. After adding the dependency you need to click on the "Sync Now" button which appears at the top right corner of the Android Studio IDE.
When you click on the Sync Now button make sure that you are connected to the network so that it can download the required files.
Refer the below image if you can't get the steps mentioned above or if you can't locate the app level Gradle file:
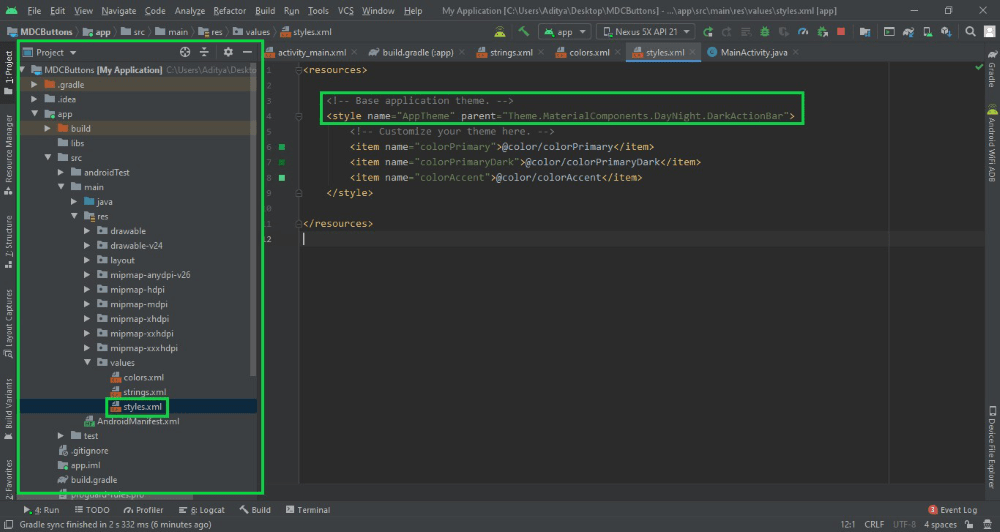
Step 3: Change the base application theme in styles.xml file
The theme needs to be changed as the ExtendedFloating action button is the child class of the Google Material Design Buttons. So it needs the MaterialComponent theme to be applied to the Base theme of the application. Otherwise, the app will crash immediately as soon as we launch the application.
You may refer to this article: Material Design Buttons in Android with Example, as the ExtendedMaterial design button is child class of the Material design buttons. The article says, the advantages of having Material design buttons, and why the theme needs to be changed.
Go to app -> src -> main -> res -> values -> styles.xml and change the base application theme. The MaterialComponents contains various action bar theme styles, one may invoke any of the MaterialComponents action bar theme styles, except AppCompat styles. Below is the code for the styles.xml file.
If you are unable to get the things in the step mentioned above you may refer to this image.
In the activity_main.xml file which add the Extended Floating Action Button (FAB).
Invoke the following code inside the activity_main.xml file. For clear understanding refer the comments inside the code given below:
Step 6: Working with the MainActivity.java file
Before proceeding to see the output it's better to handle the Parent Floating Action Button and its sub Floating Action Buttons, as if it is not done you may end up getting some unusual output.
To handle them invoke the following code in the MainActivity.java file. Comments are added inside the code to understand the code in more detail.
